Articles

Food Photography & Food Styling Tips

Capturing stunning food photos isn’t just about a fancy camera—it’s about lighting, composition, and styling. Whether you’re shooting for Instagram, your blog, or just for fun, these tips will help you improve your photos and make your dishes look as irresistible as they taste.
1. Master Your Lighting & Composition
Natural light is your best friend: shoot near windows for soft, flattering illumination. Avoid harsh overhead lights.
Understand angles: overhead shots work for flat lays, while 45° angles highlight height and texture.
Rule of thirds: place your main subject along imaginary grid lines or intersections for a balanced composition.
Negative space: give your food room to breathe to make it pop.
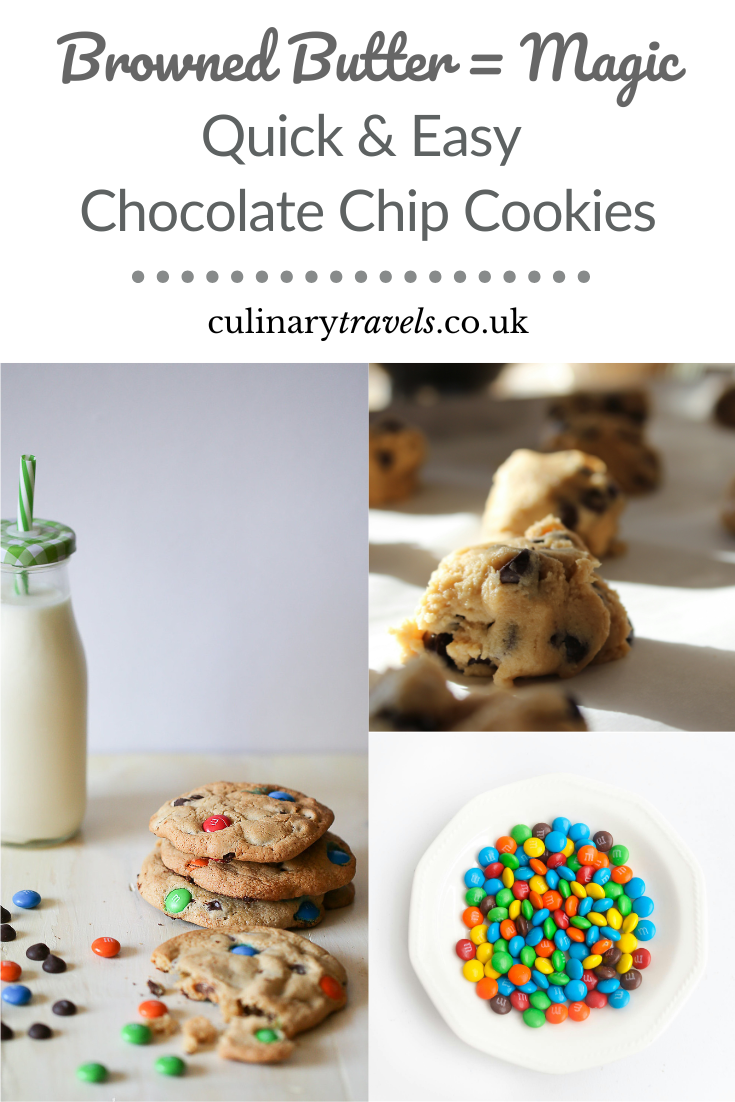
Tip: For desserts like chocolate chip cookies, try side-lighting to capture the gooey texture.
2. Styling Your Plates Like a Pro
Keep it simple: don’t overcrowd the plate; highlight the star of the dish.
Add height & layers: stack or layer elements for visual interest.
Color pops: garnish with herbs, fruits, or edible flowers.
Texture matters: use contrasting textures: smooth sauces with crispy toppings.
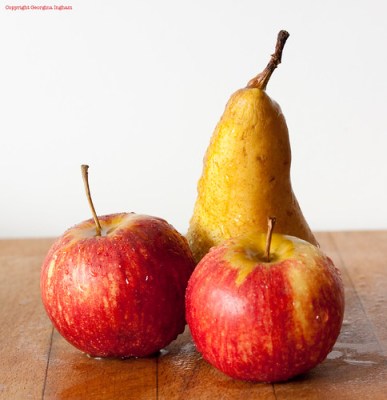
3. Choosing Props & Backgrounds
Neutral backgrounds: let your food shine—wooden boards, marble slabs, plain linen.
Complementary props: napkins, utensils, and plates that match the food’s style.
Storytelling: props hint at season, cuisine, or mood.
4. Editing & Finishing Touches
Light editing: adjust exposure, contrast, and saturation—but don’t overdo it.
Crop thoughtfully: remove distractions at the edges of the frame.
Sharpen textures: slight sharpening makes cookies, crusts, and frosting pop.
Consistency: maintain a cohesive style for your blog or Instagram feed.
5. Internal Inspiration & Links
Check out how these tips work in practice with my recipes:
Browned Butter Chocolate Chip Cookies
Homemade Vanilla Extract & Vanilla Paste
6. Bonus Tips for Social Media
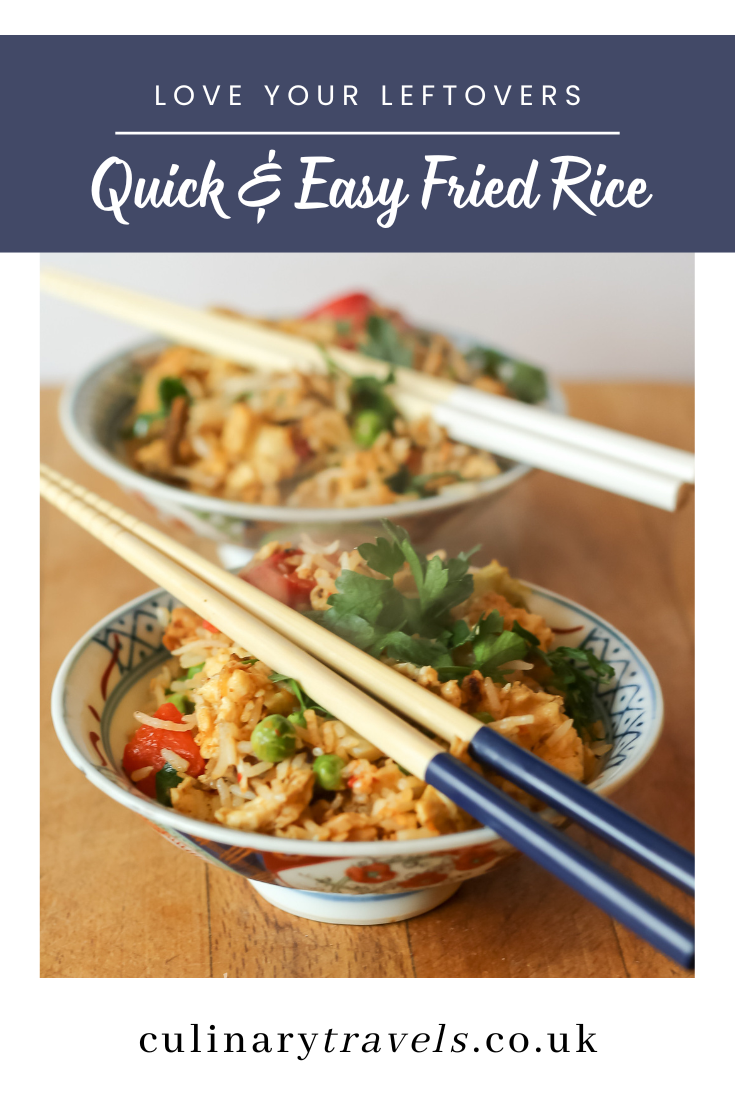
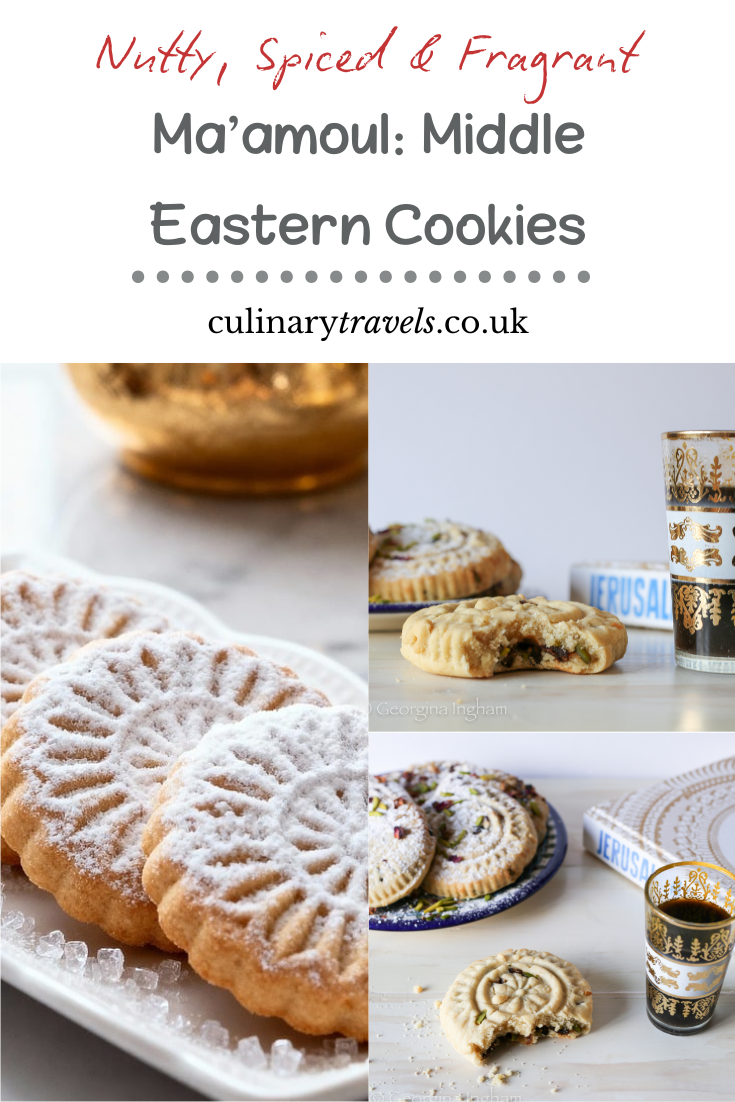
Create pinnable images: vertical shots with overlay text work best for Pinterest.
Alt text: describe each photo for accessibility and SEO.
Call-to-action: encourage readers to try styling tips themselves: "Which of these food styling tricks will you try on your next recipe?”
7. Equipment & Camera Tips
Tripod: stabilizes shots for sharp images. If you don’t have one, improvise with books or cans.
Lens recommendations: Canon 50mm f/1.8 (budget-friendly), Canon 60mm Macro (great for close-ups).
Lighting: natural, diffuse side-lighting is ideal. Avoid direct sun and flash.
Camera settings: ISO low (100), shoot RAW if possible, use aperture priority for depth of field.
8. Take Lots of Photos!
Experiment with angles, distance, and focus. One slight adjustment can turn a "meh" shot into a "WOW!" moment.
9. Example Images


I hope you’ve found these tips useful—now go work that plate! If you have any questions, feel free to reach out.
©2026 Culinary Travels. Culinary Travels is written and edited by Georgina Ingham | Website designed by The Smarter Web Company
What Our Followers Say
"Georgina was great to work with, quick to respond, and is a excellent content writer - would highly recommend"
Nick S - Get Blogged
Our list of things to do in Cork has just expanded hugely thanks to Culinary Travels.
Triskel Art Centre Cork
“Tried this last night and it was delicious!”
Pinterest feedback on Yangzhou Fried Rice Recipe
"Oh yum!!! I could eat one or two right now!"
Sami Tamimi