Articles

Easy Wholemeal No-Knead Bread Recipe – No Kneading Required!

This feature was produced with support from a commercial partner. Editorial control remains with the author.
Discover the joy of baking rustic, crusty wholemeal bread at home. Sun-bleached warmth, the comforting aroma of freshly baked bread, and the gentle crackle of a golden crust—this no-knead loaf brings the pleasure of artisan baking into your own kitchen. Simple ingredients, patience, and the satisfaction of slicing into your creation make every loaf a little celebration.

How to Make No-Knead Wholemeal Bread
Baking bread can feel intimidating, but this no-knead wholemeal bread recipe proves anyone can create a beautiful, crusty loaf with minimal effort. Overnight fermentation develops rich, nutty flavours, a chewy crumb, and a crust that crackles as you slice it. Perfect for breakfast, sandwiches, or alongside soups, this loaf is a versatile kitchen companion that also fills the home with a welcoming aroma reminiscent of cosy countryside kitchens.
No-Knead Wholemeal Bread
Prep: 10 mins (plus overnight rise) | Bake: 45 mins | Servings: 1 large loaf
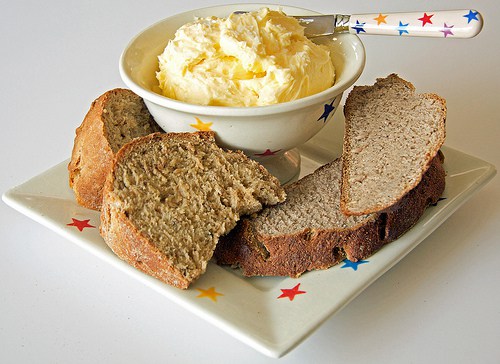
Simple, wholesome ingredients combine with slow fermentation to produce a loaf with rustic charm and satisfying texture. Perfect for enjoying warm with butter, as the base for a hearty sandwich, or alongside a steaming bowl of soup.

Ingredients:
450g strong wholemeal bread flour
1 tsp fine sea salt
1/2 tsp fast-action dried yeast
350ml lukewarm water
Organic wheat bran for dusting
For help with conversions, see my Kitchen Conversions Guide.
Instructions:
1. In a large bowl, mix the flour, salt, and yeast.
2. Pour in the water and stir until a sticky dough forms.
3. Cover and leave at room temperature overnight (8–12 hours) to allow flavours to develop.
4. Preheat oven to 220°C with a lidded cast-iron pot inside.
5. Scrape the dough gently onto a floured surface and shape into a round—do not knead.
6. Place dough on baking paper, lift into hot pot, cover, and bake 30 mins.
7. Remove lid and bake another 10–15 mins until deep golden.
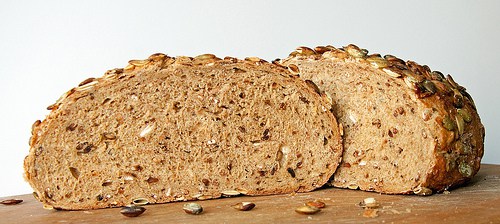
8. Cool on a wire rack before slicing and enjoy the aromatic, chewy crumb.
Tips:
Handle sticky dough gently, using a scraper if needed.
Add a spoonful of honey or a handful of seeds for extra flavour.
Freeze slices to preserve freshness.
Wholemeal flour absorbs more water; adjust gradually.
Use a thermometer: bread is done at 96°C.
Try toasted seeds, nuts, or herbs for variations.
Store in a paper bag or tea towel to maintain a crisp crust.
Slow fermentation (up to 24 hours in the fridge) deepens flavour and complexity.

✨ Keep Up To Date with Culinary Travels
Love what you see here? 🍴 Stay connected with me for behind-the-scenes kitchen moments, foodie adventures, and plenty of recipe inspiration.
Follow me on Facebook, Instagram, and Pinterest.
💌 Sharing is caring — if you’ve enjoyed this post, please spread the word! Every share helps this little corner of the internet grow, and I’d be so grateful.

©2026 Culinary Travels. Culinary Travels is written and edited by Georgina Ingham | Website designed by The Smarter Web Company
What Our Followers Say
"Georgina was great to work with, quick to respond, and is a excellent content writer - would highly recommend"
Nick S - Get Blogged
Our list of things to do in Cork has just expanded hugely thanks to Culinary Travels.
Triskel Art Centre Cork
“Tried this last night and it was delicious!”
Pinterest feedback on Yangzhou Fried Rice Recipe
"Oh yum!!! I could eat one or two right now!"
Sami Tamimi